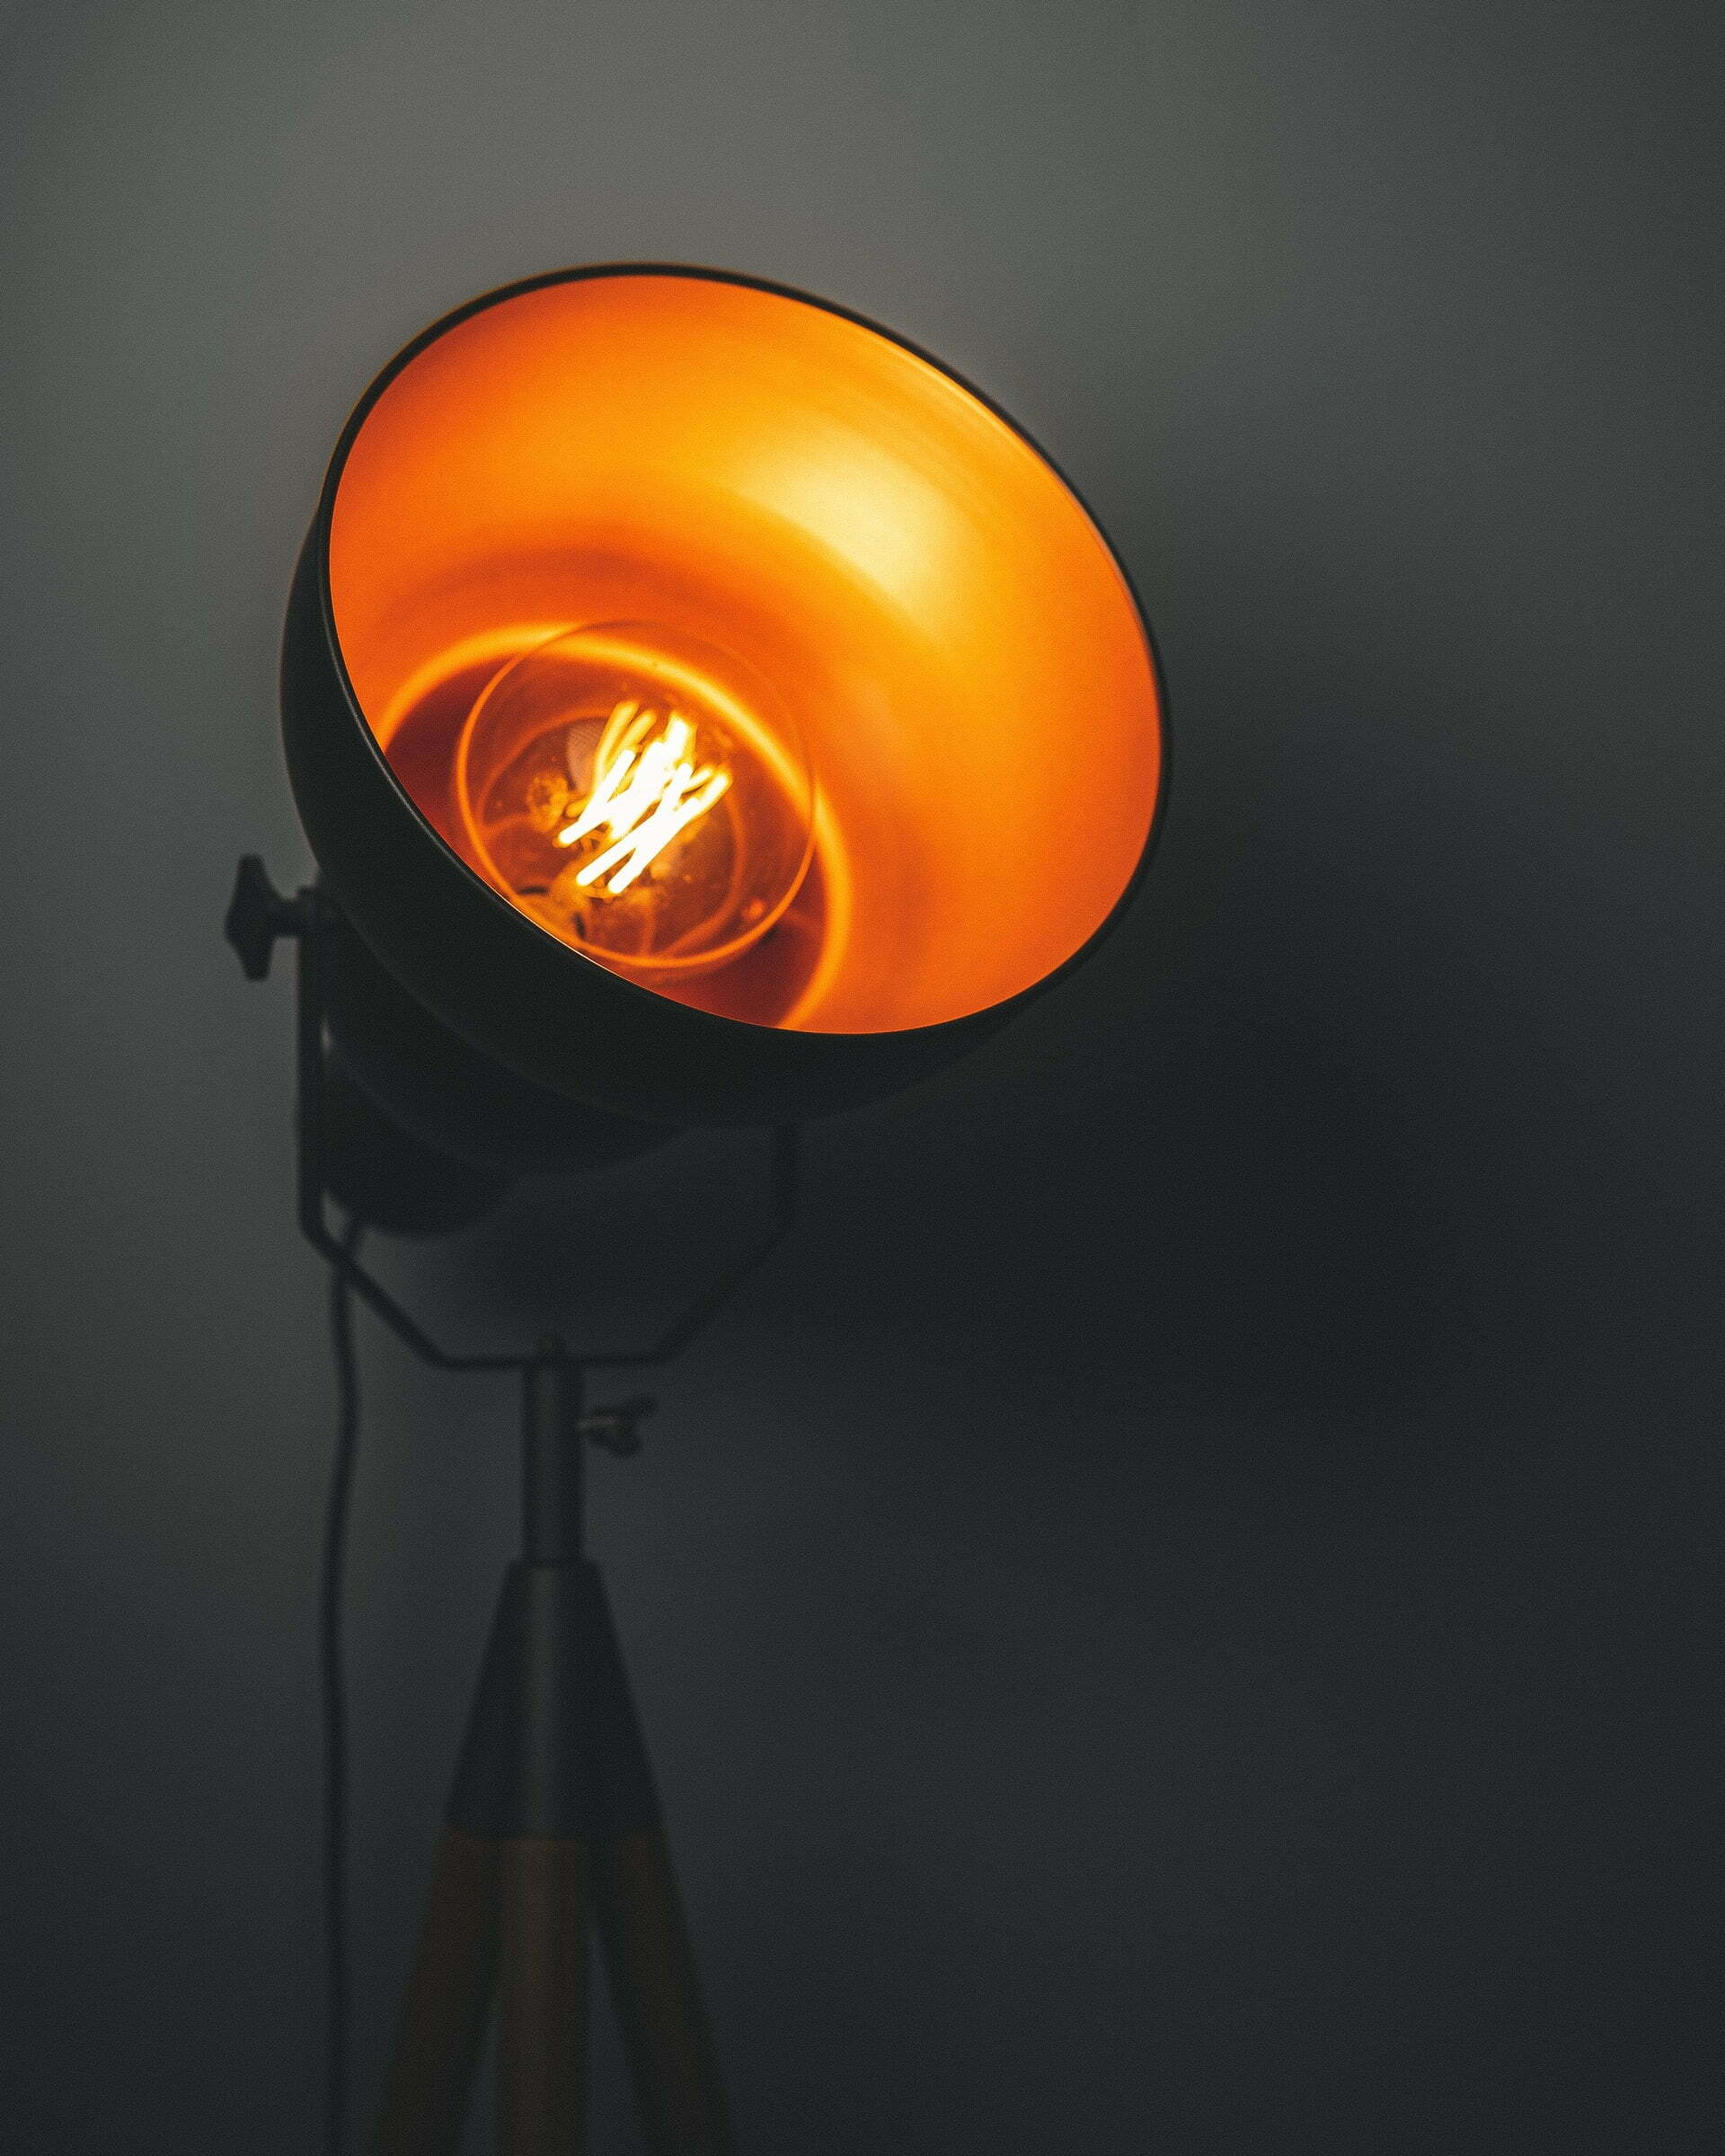
Whether you’re vlogging or trying to break into the film production industry, you must understand lighting to make high-end videos. Camera lenses have come a long way, but the human eye can still process light and visual information in far greater detail. To make up for this difference and create natural-looking videos, you must manipulate the lighting. Taking the time to light your scene properly can save you hours of color correction work in post-production. Lighting also has several thematic uses – like setting a visual mood, adding depth to storytelling, and telling the audience where to look.
You could fill a book on the importance of film lighting. With that said, you don’t have to have a film degree to understand basic scene lighting. Here are some essential tips that all filmmakers should know when using lighting design to make a more professional final product.
1. Scout your location and make a plan.
You must plan for your shoot ahead of time and create back-up plans for lighting challenges. Natural light is incredibly finicky, which can make outdoor shoots a nightmare. If the sun dips behind a cloud in one shot, it’s going to be noticeable in post-production. You want to have as much control over the lighting as possible, so shooting indoors or at a production facility is ideal.
2. Invest in the right equipment.
A few light bulbs, clamps, and stands from Home Depot are a decent setup for amateur filmmakers but if you’re starting your own production business, you need to invest in professional lighting fixtures and equipment. For outdoor lighting, you may want to contact an electric service contractor that can provide the proper fixtures — like Corbin Electrical Services, a company that offers commercial lighting in Central New Jersey. Landscape lighting is difficult to achieve with low voltage bulbs, so investing in a few security lights (the kind that can light up a parking lot) is a great idea.
3. Use three-point lighting.
Three-point lighting is the most common setup for feature films and professional photography because it creates depth and can be customized to achieve a different mood or style. The three points of light are:
- Key light — The key light sets the tone of your lighting design and is usually the brightest, most direct illumination source.
- Fill light — Used at an angle to eliminate shadows cast by the key light, your fill light should be less intense than the key.
- Backlight — Lastly, the backlight separates your subject from the background to give your shot depth.
4. Manipulate the color temperature with gels.
Lighting gels are colored, transparent sheets or films that you attach to your lighting fixture to adjust its color temperature. Gels are a cinematographer’s best friend because they let you get creative and can fix technical issues like a color spill. The four main types of lighting gels are:
- CTB (Color Temperature Blue) — Mimics daylight and tones down warmth.
- CTO (Color Temperature Orange) — Adds warmth to your shot and mimics indoor lighting.
- Minus Green — Combats unnatural indoor lighting such as fluorescents and can reduce the green screen color spill.
- ND — Reduces the overall brightness (great for blocking out sunlight from windows)
5. Work with a production company.
If you’re looking to make a high-quality video project, you can always use professional production services. Let an experienced team handle the entire production process — or a specific post production service like visual effects or audio mixing. Professional motion graphics and sound design can take your video to another level entirely. Learning how to create high-quality special effects and motion graphics takes years of experience, so there’s nothing wrong with handing that over to someone else if you’re not up for the task.
Lighting can be a painstaking process, but it’s essential to create a high-end video. If you buy the proper equipment and take the time to light your scenes correctly, you’ll thank yourself later.

